The Challenge of Winter Moisture Management
A classic failure case in the backcountry happens before the real work even begins: a skier dresses warmly at the trailhead, sweats through the base layer on the first climb, and then chills rapidly during a windy snack stop. Traditional bulky winter coats fail in these scenarios because they cannot adapt to fluctuating body temperatures. The primary threat in winter sports is not just the cold air, but the moisture generated by your own body.
Sweating during high-exertion activities like dog sledding or snowshoeing leads to rapid heat loss the moment you stop moving. To prevent this, build your clothing plan from the activity rhythm, not the thermometer alone. Mark the moments when your body will produce heat, then plan insulation for the pauses.
During stop-and-go activities, add or remove a layer during the first 3 to 5 minutes of a pace change rather than waiting until your clothing feels soaked or chilled. For steep snowshoe sections or pushing a sled uphill, reassess vents and cuffs every 10 to 15 minutes. Heat buildup can easily outrun the weather forecast.
The Science of Heat Retention and Sweat
The layering logic starts with basic heat transfer: keep liquid water off the skin, trap still air near the body, and prevent wind from stripping that air away. A thin, dry system will always outperform a thick, damp one.
Understanding thermal conductivity is crucial for winter survival. Liquid water conducts heat away from the body roughly 25 times faster than still air. This explains why damp cuffs, collars, and waistbands become cold spots so quickly. Evaporative cooling is strongest when a damp garment is exposed to moving air, such as standing on sled runners, riding an open trail, or descending after a climb. Cotton garments are dangerous in freezing temperatures because they hold moisture against the skin, accelerating this exact cooling process.
A multi-layer system creates microclimates of trapped dead air to insulate the body. Insulation works entirely by holding these small pockets of dead air. Compression from pack straps, harnesses, or simply sitting on a jacket reduces that trapped-air space and compromises your warmth. For more on the physics of cold-weather survival, Princeton University's Outdoor Action guide outlines exactly how these heat loss mechanisms operate in the backcountry.
The Base Layer: Moisture-Wicking Essentials
The sole purpose of the base layer is to move sweat away from the skin through capillary action. Choose this layer after estimating your output level. A hard-moving snowshoer needs fast moisture transport, while a passenger on a sled tour requires a warmer next-to-skin layer.
A base layer must sit close to the skin at the lower back, wrists, and neck. Loose folds slow capillary movement and leave damp fabric cooling in place. When selecting materials, you generally choose between Merino wool and synthetic fabrics. Merino wool is highly useful on multi-hour outings where odor resistance and comfort matter, and it retains some warmth even when wet. Synthetic knit layers dry much faster after heavy sweating and repeated venting, making them highly durable for aggressive trail days.
Weight matters just as much as material. Lightweight base layers fit continuous aerobic efforts pushing 20 minutes or longer. Midweight base layers suit slower travel, family outings, and days with repeated stops.
The Mid Layer: Trapping Body Heat
The mid layer acts as the primary insulator by trapping the heat your body generates. Select mid-layers in modules: one breathable active layer for motion, and a separate lofted layer for standing still. This allows you to tune warmth without stripping down to a base layer in the wind.
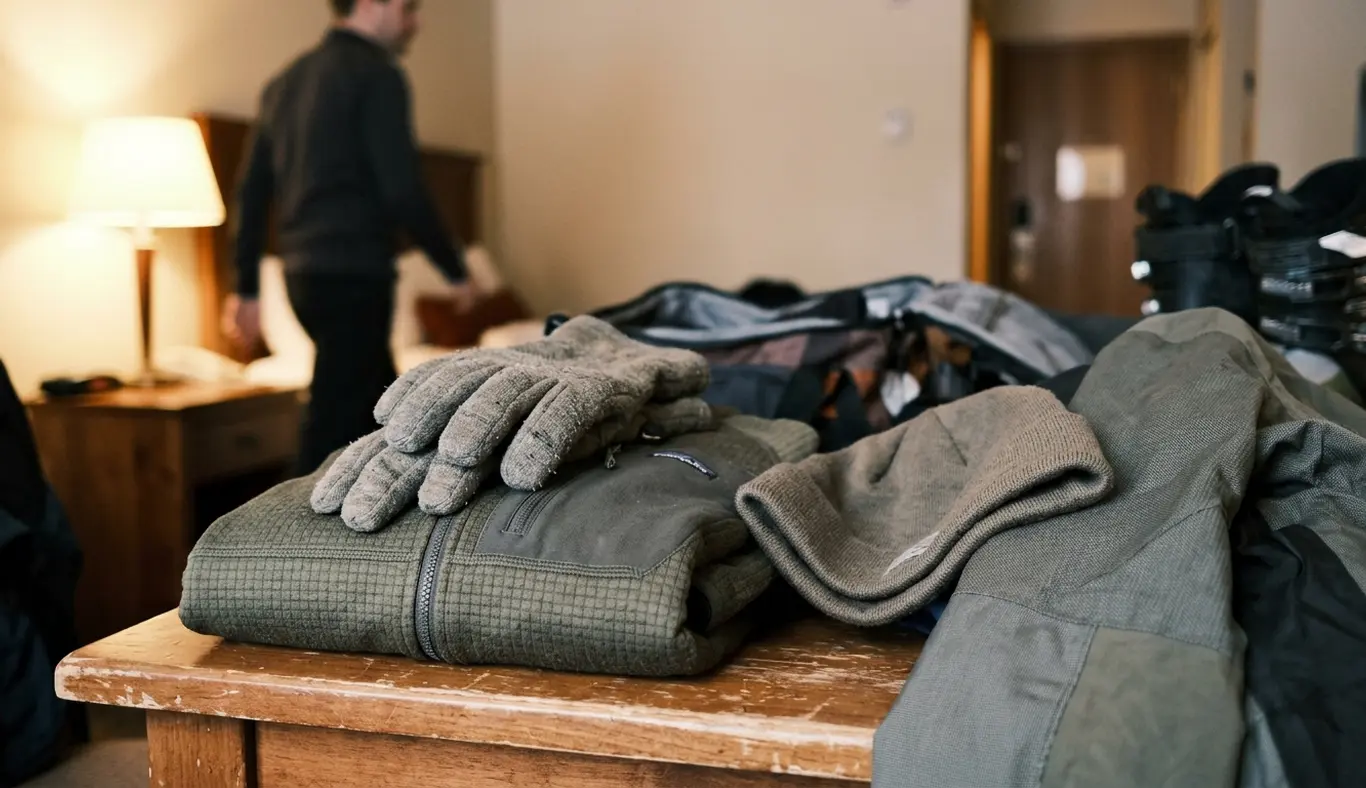
A practical active setup is a thin grid fleece or light wool sweater worn under the shell. Keep a compact down or synthetic insulated jacket reserved specifically for rest stops or extreme cold.
Field Note: Put your static insulation on within 2 to 3 minutes of stopping, before sweat cools and before your hands become too stiff to operate zippers.
Two thin mid-layers are easier to regulate than one heavy layer when your day includes climbing, trail breaks, dog care, photo stops, or shuttle waits.
The Outer Layer: Weather Protection
Your outer layer shields the inner layers from wind, snow, and sleet without trapping internal moisture. Pick the shell by asking what must be blocked first: wind, wet snow, sleet, or internal humidity. A hardshell is chosen when outside moisture is the bigger threat. A softshell is a good choice when breathing and venting take priority.
Important: A breathable softshell is a poor choice when wet snow or sleet is sticking to the fabric faster than body heat can dry it.
A classic failure case is wearing a waterproof shell with no venting; it protects against sleet but traps enough internal moisture to leave the mid-layer damp by the return trip. To avoid this, open pit zips or chest vents before your collar and sternum feel damp. Once condensation forms inside the shell, drying becomes much harder in freezing air.
A winter shell should allow cuffs to close securely over gloves or under gauntlets, because wrist gaps pump warm air out during pole plants, sled handling, and leash work. Finally, a helmet-compatible hood should turn with your head rather than leaving your face pointed into the hood wall on windy trail corners.
Adjusting Layers for Dog Sledding vs. Skiing
Dog sledding requires a specific layering approach due to alternating periods of intense exertion—pushing the sled or running beside it, and complete stillness while standing on the runners. A ski-touring system often assumes the skier can keep generating heat. For skiing, venting usually happens before climbs and insulation is added at summits or lunch stops. For dog sledding, that same vent-and-add cycle can repeat several times in a single outing.
Context dictates the gear. A family passenger on a dog sled needs significantly more static insulation than the person jogging beside the sled during uphill sections. In our review, standard ski-touring setups show their limitations when exposed to the high wind chills of open-trail mushing.
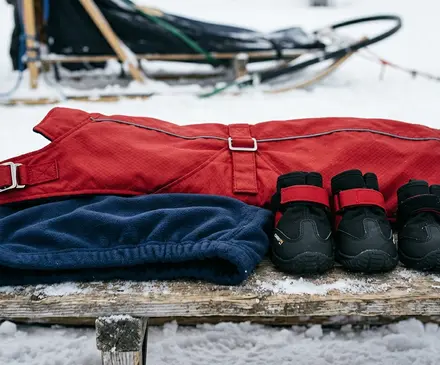
To solve this, mushers carry an oversized belay-style parka or expedition parka. This fits over the shell and mid-layers without compressing them. On an open trail, put the parka on before long static stretches on the runners, not after shivering begins. While this layering framework is used across New Brunswick trail conditions, cold tolerance remains highly individual and requires personal testing.
Bottom Line: Build your system around your specific activity rhythm, prioritizing moisture management over sheer bulk.
Winter Sport Layering Check Before Leaving the Trailhead
- Base layer is snug, dry, and non-cotton.
- Active mid-layer can be worn while moving without immediate overheating.
- Static insulation is reachable without unpacking the whole bag or sled.
- Shell blocks the day's specific weather threat (wind vs. wet snow).
Write a Comment