The Reality of Winter Wilderness Travel
From scenic ride to working travel
A short dog sled ride and a multi-day trek share the same music: runners on snow, dogs pulling into their lines, spruce branches snapping back after a sled passes. The difference shows up once the guide gives you a job.
On a kennel loop, you may sit on the sled for in the ballpark of 30 to 90 minutes and take in the forest. On a multi-day trip, you become part of the moving system. You help keep the gangline clear, step off the runners on climbs, hold the brake while the team is stopped, and learn when to stay quiet so the dogs can hear the handler.
Why winter camping changes the pace
The hours outside add up quickly. A multi-day trek can involve time outside hovering around 4 to 7 hours once you count dog care, trail time, camp setup, and water-making.
Camp tasks move slowly in the cold. You stamp tent platforms, anchor sleds, set a dog drop, collect snow, and melt enough water for both people and dogs. None of that feels dramatic from a chair at home, but at dusk with stiff gloves, each task asks for patience.
In New Brunswick-style winter travel, isolation can arrive fast even near forestry roads. Cell coverage, plowed access, and daylight are not dependable planning tools in wooded backcountry. That is part of the beauty, and it is also why a guided trek runs on routine rather than hope.
Field Note: Treat every small job as part of travel, not as a delay from travel. The trip becomes calmer when you stop waiting for camp to be done and start working with the rhythm of it.
Analyzing the Physical and Mental Demands
The strength is awkward, not gym-clean
People often ask whether they need to be strong. I look less at gym numbers and more at repeated movement while layered up: shifting weight on narrow runners, feathering the drag brake, jogging beside the sled for a short pitch, and getting back on without rushing the dogs.
The hardest bursts usually last from 20 seconds to shy of 3 minutes. You push off after a stop, help the team over a rise, or free the sled when the runners sink into soft snow. Those efforts are brief, but they come when your boots feel bulky and your face protection limits how much you can see below you.
Cold patience matters
Mental fatigue sneaks in during pauses. Waiting 10 to 25 minutes while another sled gets untangled, a boot liner is adjusted, or the guide studies a trail choice can feel longer than a climb.
This is where many first-time travelers learn the real skill of winter travel: stay useful without getting restless. Eat before you feel hollow. Adjust a layer before sweat chills you. Keep your hands busy with simple checks instead of standing still and tightening up.
How I would prepare
A sensible preparation block runs 4 to 8 weeks before arrival. Loaded walking, stair climbing, squats, planks, and balance work all help because they resemble the odd little demands of sled handling. A single hard weekend does not replace steady practice.
- Walk in the boots or winter footwear you expect to use.
- Practice stepping up and down from a narrow surface without looking graceful.
- Build comfort with moderate effort while wearing layers.
- Train your patience by staying outside long enough for small cold-weather tasks.
Breaking Down the Daily Trail Routine
Morning starts with the dogs
The day is built backward from the dogs' needs and the amount of usable daylight. Morning chores come before coffee comfort.
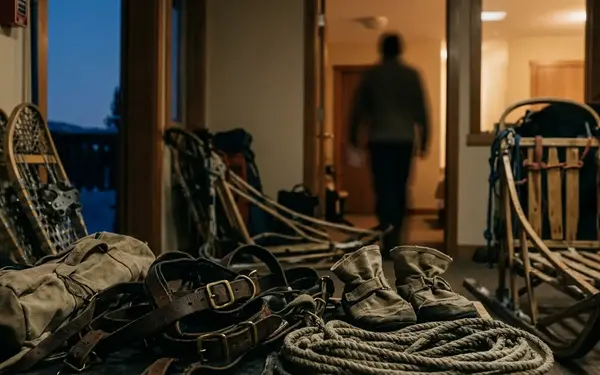
A typical trail morning may begin between 05:30 and 07:00, especially when the group must feed dogs, break camp, and depart before the snow softens. Dogs are checked, watered, fed according to the guide's system, and handled in a set order. Paw inspections look for ice balls between toes, worn spots, cracked nails, bootie loss, and sensitivity after crusty or abrasive trail.
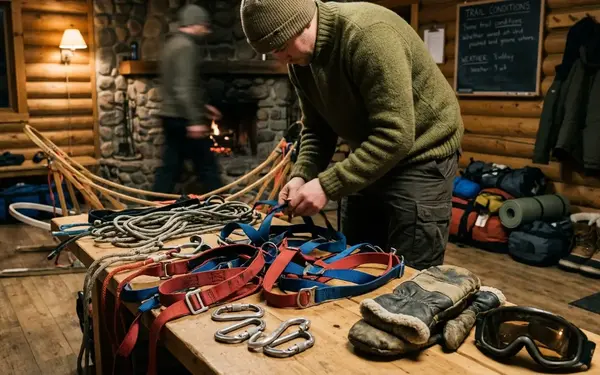
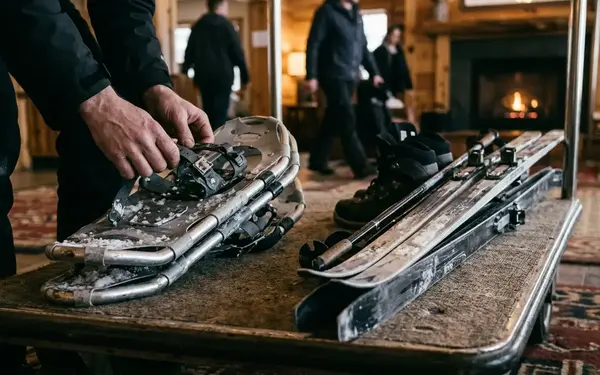
Harnessing has a sequence
The common order exists for a reason: anchor the sled first, stretch the gangline, check tuglines, place lead dogs last or nearly last, and hold the brakes until the guide releases the team. A keen dog team can turn a loose habit into a problem very quickly.
- Confirm the sled is anchored and stable.
- Pack or recheck the load so weight sits securely.
- Lay out lines where dogs cannot step through a tangle.
- Harness assigned dogs under direction.
- Stand where the guide tells you, then stay there.
The best guests I have worked with do not try to be fast on the first morning. They try to be predictable.
Trail pacing and evening work
On the trail, pacing means watching both snow and dogs. Deep snow, wet snow, soft shoulders, tight turns, and rolling terrain all change how much help the team needs. Sometimes you ride quietly. At other times you step off and run. On descents, you may brake lightly so the sled does not crowd the dogs.
Evening camp chores can push 90 to 150 minutes in cold weather once dog lines, bedding straw or mats, cooking area, water melting, and personal sleep systems are handled. That stretch is where a cabin-supported trek and a tent-based route feel completely different. A cabin trip may feel like active winter touring, while a tent-based route asks for sustained camp labor after the trail day is already finished.
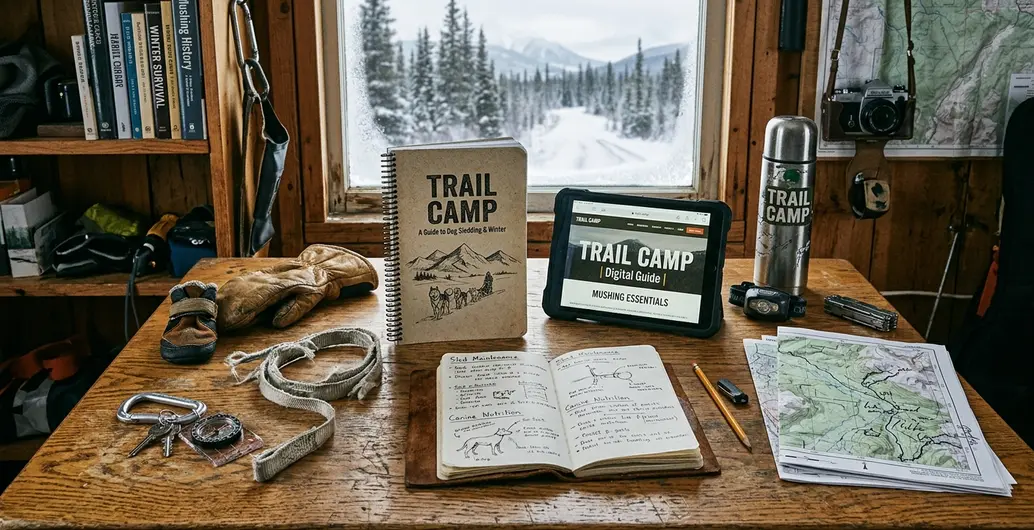
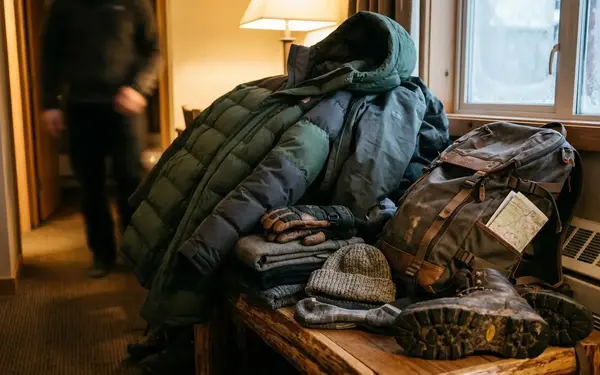
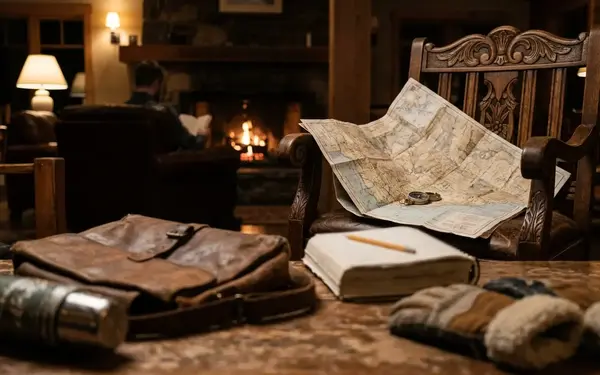
Essential Gear and Cold Weather Preparation
Dress for moisture control first
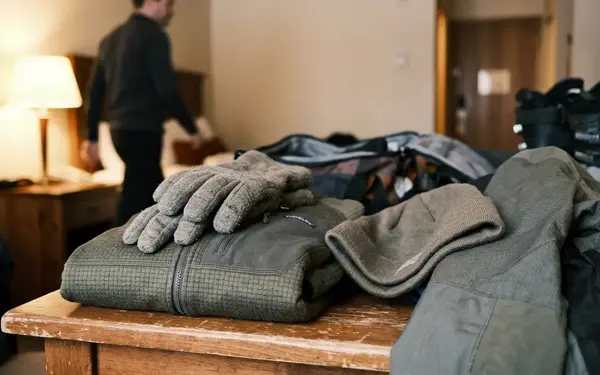
The common beginner approach is to pack one very heavy parka and hope it solves the whole problem. A better system separates moisture control, insulation, and weather protection.
Use a wicking base layer, an insulating mid-layer such as fleece or wool, and a windproof outer shell that can shed blowing snow. This three-layer system lets you open, close, add, or remove pieces before sweat becomes a problem. Wet clothing in winter does not forgive pride.
Important: Do not wait until you feel soaked to adjust layers. If you are climbing beside the sled and heat builds, vent early or remove a layer during a planned stop.
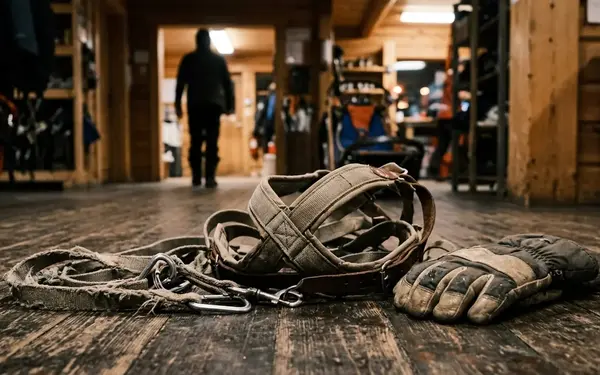
Boots and hands decide your mood
Boots should be insulated and waterproof, with removable liners. Fixed-liner boots can trap moisture after the first full day, and that dampness becomes hard to chase out overnight.
Hands need a modular system. Thin liner gloves help with clips and knots. Insulated mitts keep fingers warm while riding. An overmitt or shell protects against wind and wet snow. A guest who is comfortable on a one-hour kennel loop may still struggle on day two when damp boot liners, stiff mitts, and repeated braking make simple tasks clumsy.
Keep small essentials reachable
The item you need during a cold stop should not be buried at the bottom of a duffel. Keep frequently used pieces where you can reach them with gloves on.
- Snacks that can be eaten without unpacking the sled.
- Headlamp for dark chores and early starts.
- Spare mitts in a dry place.
- Neck gaiter and face protection.
- Goggles or sunglasses for wind, glare, and blowing snow.
- Chemical warmers if you use them responsibly.
- A small personal dry bag for medications.
Winter camping also rewards low-impact habits. If you want a sound baseline for campsite behavior, the Leave No Trace principles give a useful frame, especially when snow cover makes people think their tracks do not matter.
Scope and Limitations of Multi-Day Treks
Weather can rewrite the route
A warm spell can make a planned route harder, not easier. Wet snow drags on runners, then may refreeze into crust that irritates paws.
A trip may be shortened, rerouted, or converted to a base-camp format when temperatures swing through freezing, when rain falls on an established trail, or when high winds create unsafe travel in exposed cuts and lake crossings. The route on the map is a plan. The trail under the runners is the truth.
Know your medical and physical limits
Participants with unmanaged asthma, significant circulation problems, recent joint injuries, or cold-triggered medical conditions should clear participation with a clinician and disclose concerns before booking. That conversation belongs before the trip, not at the trailhead with dogs already barking in harness.
This guidance applies to guided recreational multi-day treks on established winter routes, not self-supported racing, expedition racing, or remote trapline travel. The demands change when the support model changes.
The lead guide has final authority
The lead guide's authority is not ceremonial. It is the operating system for the trip.
Route changes may come from trail crust, overflow, wind exposure, dog condition, guest fatigue, or access-road plowing. The guide may require guests to ride in the basket, walk a section, swap sled positions, or stop handling lines if fatigue or slow reactions create risk. A good expedition culture accepts those decisions without debate in the moment.
Bottom Line: Multi-day dog sledding is not a test of toughness. It is a test of attention, honesty, and willingness to follow the system that keeps dogs and people moving safely.
Choosing the Right Expedition for Your Skill Level
Match ambition to the outfitter's real style
The right trip is chosen by matching your ambition to how the outfitter actually operates, not just to the brochure wording. Ask how guests participate in dog care, what happens in bad weather, how many hours are usually spent outside, and what kind of lodging the route uses.
First-time multi-day guests are usually better served by 2 to 4 night itineraries before considering longer routes with repeated cold camps and heavier sled handling. That length gives you enough time to feel the rhythm without asking you to solve every winter problem at once.
Ask about dogs, lodging, and instruction
Animal welfare questions should be specific. Ask about rest rotation, paw care, feeding and hydration routines, retirement or rehoming practices, and whether guests are taught safe handling before approaching the team.
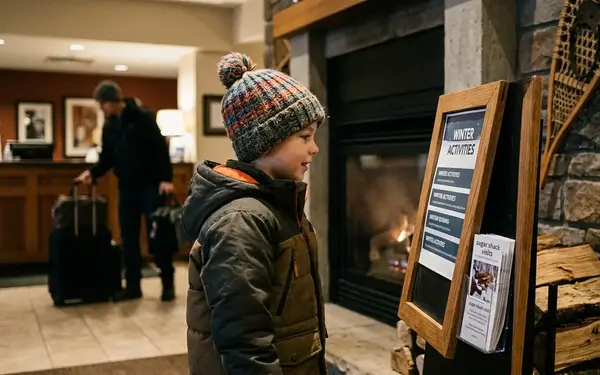
Lodging changes the whole experience. Heated cabins, wall tents, expedition tents, and mixed lodging all create different workloads. None is automatically better, but they are not interchangeable.
Final preparation before you arrive
Confirm the packing list 10 to 21 days ahead. Test boots and layers on a cold walk of at least 60 to 90 minutes. Trim unnecessary luggage so the sled load stays manageable.
When you arrive at the kennel, bring curiosity and a little humility. Learn the dogs' names. Listen before touching gear. Ask for clarification early. The strongest start is not showing that you already know winter; it is showing that you are ready to work with this team, on this trail, in the conditions the day gives you.


Write a Comment