
Defining Subzero Footwear
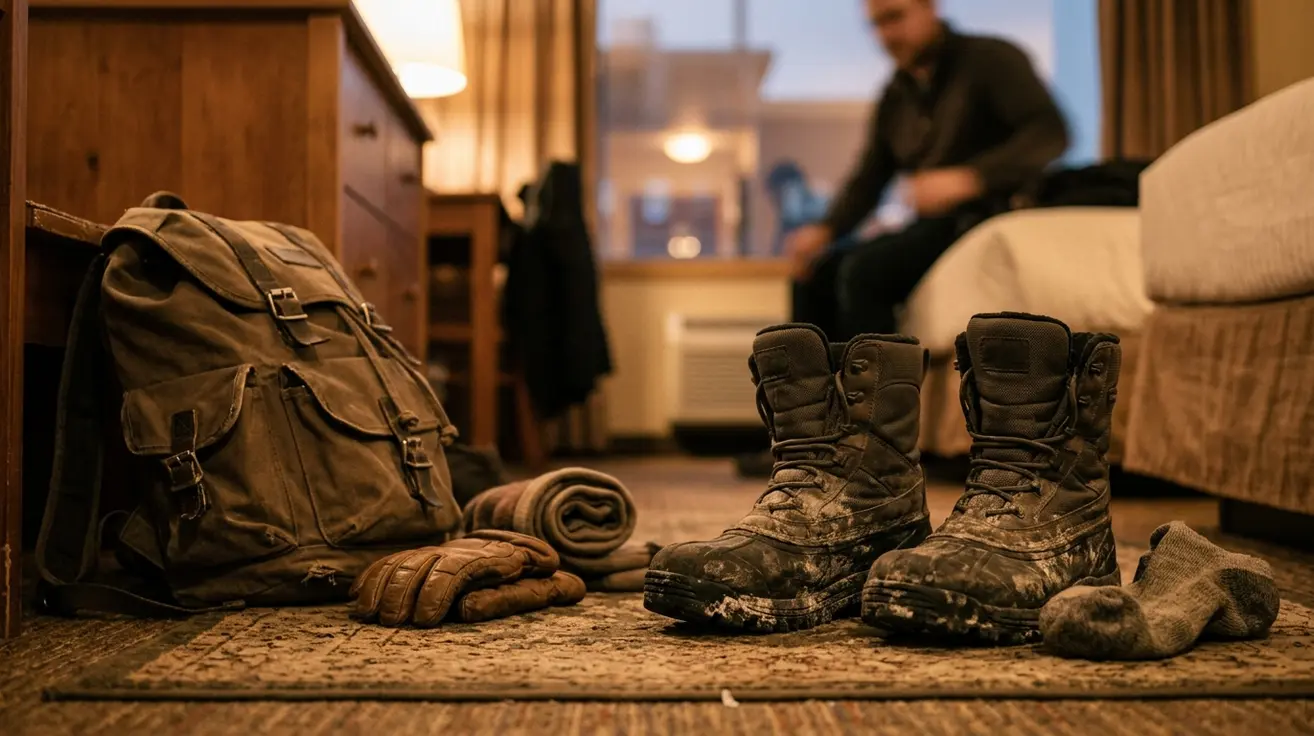
For practical trip planning, a subzero winter boot is footwear built to limit conductive and convective heat loss at temperatures in the ballpark of -18°C (0°F) and below. That definition starts at the frozen ground, not at the fleece visible around the ankle.
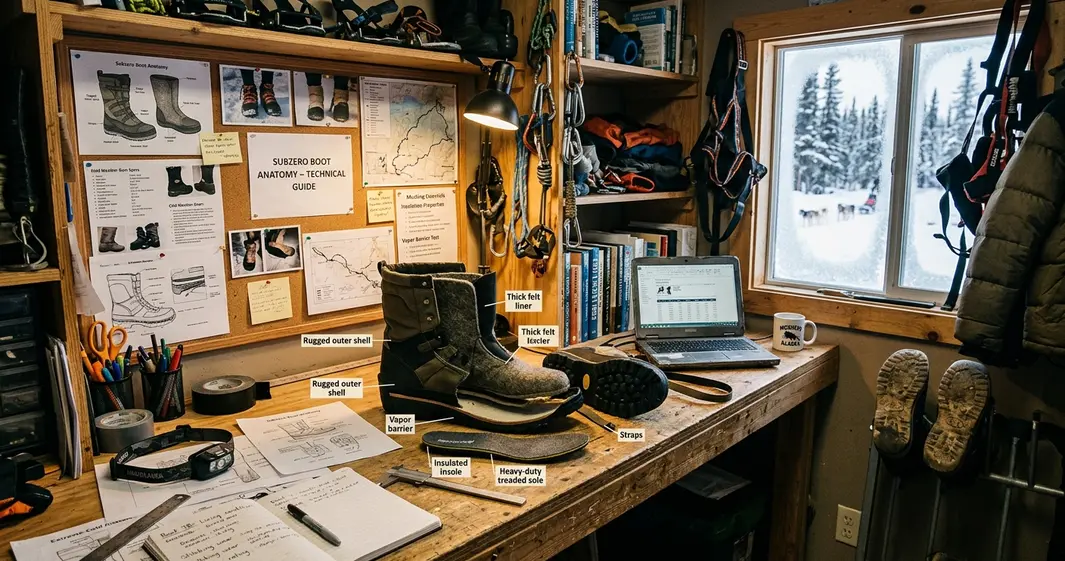
A standard winter fashion boot may place a thin, foam-backed lining over a street-style sole. True subzero gear usually combines a deep outsole, an insulating midsole or footbed, and dense insulation around the whole foot. The sole package matters because snow, ice, and metal sled runners continuously draw heat downward. A thick-looking shaft cannot compensate for weak insulation beneath the heel and forefoot.
The boot must also manage moisture. Insulation traps warm air only while it retains loft and stays reasonably dry. Once sweat saturates the sock and liner, that moisture can cool or freeze during a pause.
Bottom Line: Evaluate a subzero boot as a thermal system: outsole, underfoot insulation, upper insulation, fit, and moisture control must work together.
The Physiology of Cold Feet in Extreme Environments
Cold feet often begin with circulation. As the body protects its core temperature, it narrows blood vessels serving the extremities. Tight laces, compressed socks, or a crowded toe box add another restriction just when the feet need warm blood most.
Ground Contact Changes the Equation
Picture two people at the same trailhead. One walks steady laps while adjusting a snowshoe binding. The other stands beside a dog sled with both feet planted on frozen ground. The walker generates heat and changes pressure with each step; the stationary person experiences continuous conductive cooling through the soles.
That is why a musher can become cold in a heavily insulated boot that feels almost excessive during active snowshoe travel. Air temperature alone does not describe the exposure.
Sweat Can Become a Cold-Weather Hazard
A foot that sweats during an uphill approach may feel comfortable at first. Trouble develops when the wearer stops moving. Moisture within the sock and liner replaces insulating air, then cools rapidly. If vapor freezes in outer boot layers, warmth can decline even though the boot has a waterproof membrane.
Numbness, a hard or waxy sensation, loss of dexterity, or skin that remains pale after reaching shelter calls for an end to exposure and an appropriate first-aid assessment. Walking harder is not a safe method for forcing warmth back into a potentially injured foot. The CDC’s guidelines on cold stress and frostbite prevention provide useful context for recognizing cold injury.
Important: Treat a sudden loss of feeling as a warning sign, not proof that the foot has adjusted to the cold.
Decoding Insulation Materials and Temperature Ratings
Start with construction and workload before reading the temperature label. Synthetic microfiber insulation is light and retains useful loft when damp. Removable wool-felt liners are bulkier, but they tolerate repeated drying and make it easier to separate wet components at camp. Aerogel-based components can add insulation in thin areas, although the complete boot design still determines how well that material performs.
What an Insulation Figure Does Not Say
An insulation weight printed in grams usually describes the amount used in a model. It is not a standardized warmth result for the entire boot. Two models carrying the same figure may differ in coverage, sole insulation, liner thickness, toe-box volume, and moisture handling.
Temperature ratings also tend to reflect active use under test conditions that may not resemble a day on winter trails. A dog sledding guest waiting at a windy trailhead needs more thermal margin than a snowshoer climbing continuously. No printed rating can predict one person’s comfort precisely because circulation, wind, food intake, sock moisture, activity, and time outside all alter the outcome.
Insulation Has a Working Life
Repeated pressure compresses insulation. Check removable liners at the start and midpoint of the winter season, paying close attention to the heel, ball of the foot, and creases beside the toes. A thin spot that no longer rebounds, or a heel that becomes noticeably colder than it was earlier in the season, points to lost loft rather than an automatic need for thicker socks.
Field Note: Hold a liner up to side light and compare matching areas on both boots. Uneven thickness is easier to detect when the liner is removed.
Balancing Waterproofing with Breathability
Pac boots remain a strong choice for slush, wet snow, overflow, and thawed road edges. Their rubber lower blocks external water around the foot, while a leather or synthetic shaft provides height and support. Removable liners simplify overnight drying, which makes this construction useful for multi-day New Brunswick travel.
A fully synthetic waterproof boot can be lighter and more precise under snowshoe or traction-device bindings. Its weakness appears when waterproof is interpreted as automatically dry. An impermeable shell stops outside water, but it also traps perspiration unless the sock and liner system can move that moisture away from the skin.
Why Membranes Have Limits in Severe Cold
Breathable membranes transfer vapor most effectively when temperature and humidity conditions create a favorable gradient. In deep cold, vapor may condense or freeze in the outer layers before it escapes. The membrane can remain intact while the liner gradually becomes damp.
Route conditions should decide the moisture strategy. Deep, loose snow calls for a shaft and closure that sit above the likely snow-entry point. Wet roadside snow favors a rubber lower. For an all-day family adventure, a dry pair of insulating socks belongs in a waterproof bag, ready for the stationary part of the outing.
Important: Do not put dry socks into a wet liner and expect a lasting improvement. Dry or replace the damp component first.
Sizing for Circulation and Layering
A heavily insulated boot can still produce cold toes when thick socks fill all available volume. The common instruction to buy one size larger is too blunt because brands use different last shapes, widths, and insulated volumes. Fit the actual boot with the exact sock system planned for the coldest outing.
Build the Sock System First
A practical two-sock system uses a thin synthetic or wool liner sock beneath one thicker wool insulating sock. The liner moves moisture away from the skin; the outer sock supplies loft. Adding more thick layers often compresses the insulation and reduces circulation, defeating the reason they were added.
Run the Toe-Wiggle Test
- Put on both intended socks and loosen the boot completely.
- Slide the foot forward until the heel settles naturally, then fasten the boot without crushing the instep.
- Stand with full weight on the foot and move every toe independently.
- Check that the toes do not scrape the liner roof while the heel remains controlled during an uphill step.
- Wear the boots indoors for 20 to 30 minutes, per family testing, and watch for tingling, a cold forefoot, lace pressure, or deep sock impressions.
Length alone does not guarantee a good fit. A wide forefoot or high instep may need a different model rather than a longer boot. Excess length can allow heel lift, while inadequate volume restricts blood flow.
Bottom Line: The correct fit preserves toe movement and sock loft without letting the heel slide around inside the boot.
Matching Boot Profiles to Winter Activities
The same boot may feel excessive during continuous snowshoe travel yet inadequate while standing on sled runners, even at the same air temperature. Match the profile to four factors: heat output, stationary time, snow depth, and equipment interface.
Dog Sledding and Stationary Exposure
A musher may run briefly beside the team, then stand almost motionless for a long stretch. That pattern favors maximum underfoot insulation, a substantial outsole, and enough internal room to preserve circulation. A tall shaft and secure cuff also help when stepping into loose snow beside the trail.
Snowshoeing and Continuous Movement
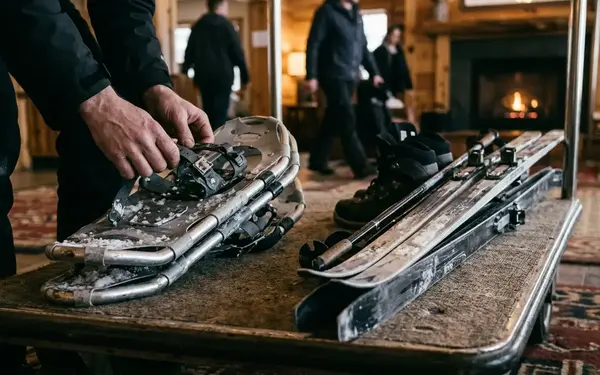
A snowshoer produces sustained heat and benefits from ankle articulation, lower weight, and better moisture transfer. Rigid soles distribute pressure from bindings and resist folding beneath tight straps. For long walks without bindings, a more flexible sole can reduce calf and forefoot fatigue.
Boot height follows the terrain. A high shaft protects against deep, unconsolidated snow, while extra height adds weight with little benefit on packed winter trails. Before a trip, step into the intended bindings while wearing gloves and the full sock system. The straps should not collapse the upper or cross a pressure-sensitive part of the forefoot.
Field Note: Test the complete setup, not the boot in isolation. A comfortable boot can become restrictive once a snowshoe strap is tensioned.
Maintenance and Safe Drying Techniques
Drying should begin as soon as the boots come indoors. Leaving wet liners inside cold shells slows evaporation and allows moisture to remain concentrated around the heel and toe.
A Safe Drying Routine
- Undo all laces, straps, and closures.
- Remove the footbeds and any removable liners.
- Brush away snow and wipe moisture from rubber shells.
- Stand every component separately in moving room-temperature air.
- Check the liners after a drying period hovering around 8 to 12 hours by squeezing the heel and toe. Continue drying, pushing 24 hours if either area still feels cool and damp.
Keep boots away from radiators, stove tops, hot-air outlets, and open flames. Concentrated heat can soften adhesives, shrink liners, distort molded parts, and accelerate cracking in rubber. A boot that feels dry quickly may have paid for that speed with permanent damage.
Care for Leather Uppers
Wipe away salt and road grit with a damp cloth before applying a suitable leather-conditioning wax. Trapped crystals abrade the finish and draw moisture into repeated flex lines. Work the conditioner into clean, dry leather, giving particular attention to seams and the area where the upper bends above the forefoot.
Conditioning helps leather remain flexible and water resistant in dry, freezing air. It does not replace drying or repair an open seam, so inspect stitching and the join between the rubber lower and upper while the boot is clean.
Your Next Step for Winter Readiness
A reliable purchase starts with a loaded-foot measurement rather than the size printed inside an older casual shoe.
Pre-Purchase Checklist
- Measure both feet between late afternoon and evening.
- Wear the intended liner and insulating socks during the measurement.
- Record heel-to-longest-toe length and forefoot width in millimetres.
- Use the larger foot when checking fit.
- Compare the measurements with the chart for the exact boot model.
- Confirm that the boot includes insulation beneath the foot, not only around the shaft.
Put on your thickest planned winter sock system at the end of today, measure both feet while standing, and record the length and width in millimetres before opening a manufacturer’s sizing chart.




Write a Comment