The Winter Trail Dilemma: Gliding vs. Stepping
Start with travel feel, not trail status
Most winter trail debates start in the wrong place. People ask which activity is better, when the sharper question is what kind of movement the snow will allow that day.
Cross-country skis reward rhythm. On supportive snow, a skier kicks, glides, plants the poles, and lets the trail carry some of the work. Snowshoes reward steadiness. They turn deep or broken snow into walkable ground when the route fades under spruce shade or fresh powder.
New Brunswick makes this comparison useful because the province rarely gives one simple winter surface. A coastal park can hold wind crust or wet snow while an inland wooded loop keeps softer powder. From December through March, the choice usually matters most; shoulder-season outings depend more heavily on local snow cover and freeze-thaw cycles.
Field Note: For beginners, an outing in the ballpark of 60 to 120 minutes gives enough time to feel the difference without turning the test into a cold-weather endurance problem.
The practical split
Skis need a continuous sliding surface. Snowshoes tolerate broken, uneven, or partly hidden ground better. That single distinction explains most successful gear choices before anyone checks brand names, wax charts, or frame shapes.
Understanding Mechanics and Terrain Compatibility
How skis use support and width
Classic cross-country skis spread weight along a long, narrow platform and convert a diagonal stride into forward momentum. On groomed trails, packed community loops, or gentle rail-trails, that glide saves effort. The skier covers distance without lifting each foot high out of the snow.
The catch is space. A ski needs enough track width for a forward kick-and-glide and enough room to snowplow or step-turn on descents. When alder stems, tight turns, or buried deadfall interrupt the line, the same long ski tips that felt graceful on a groomed track can become irritating within minutes.
How snowshoes use flotation and grip
Snowshoes work less like a sliding tool and more like a stability platform. They spread body weight over a wider area, add traction underfoot, and let the traveler step into unbroken powder that would swallow winter boots. They shine on forest approaches, short park loops after a storm, and routes where the trail edge disappears under fresh snow.
Local winter use tends to follow the pattern many trail users already know: packed and open favors skis; deep, narrow, and cluttered favors snowshoes.
Surface-by-surface choice
Quick Choice Framework: Snowshoes or Cross-Country Skis| Situation | Better Choice | Why |
|---|---|---|
| Groomed trail, packed community loop, or gentle rail-trail | Cross-country skiing | Glide makes distance easier and the surface supports a long stride. |
| Fresh snow deep enough to swallow winter boots | Snowshoeing | Flotation and cleats help with soft approaches and uneven footing. |
| Narrow forest path with low branches or frequent deadfall | Snowshoeing | Shorter frames turn more easily than long ski tips. |
| Icy crust over softer snow | Neither is ideal | Skis can chatter and lose edge control; snowshoe cleats may grip only where the crust holds. |
Icy crust deserves special caution. It tempts both groups because the surface looks fast from the parking area. In practice, skis may skid or chatter, while snowshoes can punch through one step and skate on the next.
Physical Demands and Cardiovascular Impact
Skiing spreads the workload
Cross-country skiing recruits legs, arms, core, and balance at the same time. The motion feels efficient on flat terrain because the foot glides instead of being lifted clear of the snow on every stride. For many beginners, that glide feels kinder to knees and hips during a first easy session.
The cardiovascular load arrives quietly. A gentle ski loop can feel smooth for the first few minutes, then the arms, trunk, and stabilizing muscles join the bill. Good technique makes the effort more fluid, but the body still works as a system.
Snowshoeing concentrates effort underfoot
Snowshoeing looks simple because it mostly is: step, plant, reset, continue. In deep snow, that simplicity gets heavy. Every stride includes lifting the frame, clearing the toe, and placing the foot without stepping on the opposite snowshoe.
A beginner who enjoys snowshoeing on a soft forest loop may dislike the same snowshoes on a flat, plowed rail-trail. Without fresh snow to float over, the frame becomes dead weight and extra width.
Baseline fitness for a first day
Beginners who can walk steadily for a winter-path outing hovering around 45 to 90 minutes can usually try an easy snowshoe route. They still need warm layers, dry handwear, and a route short enough to turn around before fatigue changes their footing. Beginner skiing asks for a different starting condition: the first route should stay flat or gently rolling so balance, weight transfer, turning, and stopping can develop without pressure.
Bottom Line: Choose skiing for aerobic flow on supportive snow. Choose snowshoeing when steady access matters more than speed.
Gear Essentials, Costs, and the Learning Curve
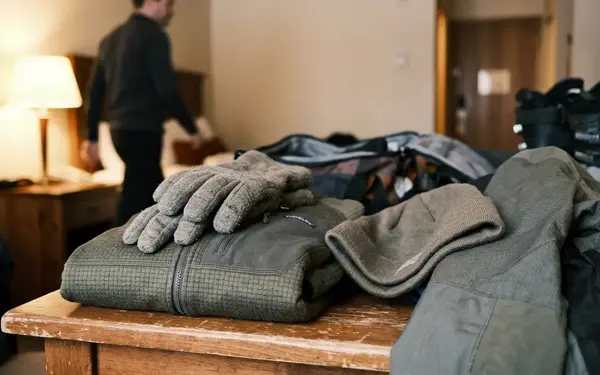
What must go on at the trailhead
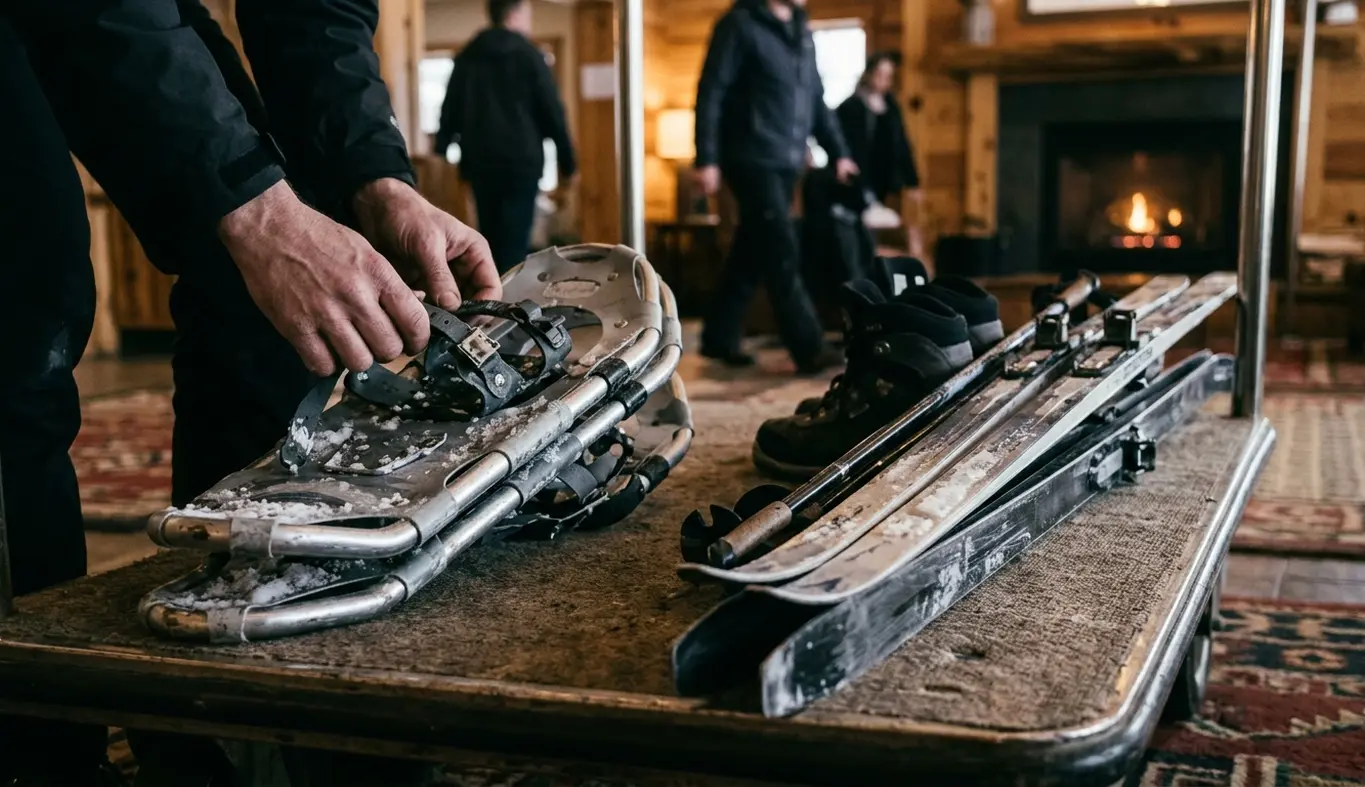
A basic ski setup requires skis, compatible boots, bindings, and poles. That word compatible matters. Mismatched boots and bindings create one of the most common rental-counter problems for first-timers, especially when a group borrows gear from different sources.
A basic snowshoe setup needs snowshoes and warm winter boots. Trekking poles help on slopes and uneven surfaces, but they are not mandatory on flat beginner trails. This makes snowshoeing easier to test with clothing most winter walkers already own.
Maintenance and ownership cost
Cross-country ski gear usually costs more to assemble because every part of the boot-binding-ski system has to match. Maintenance also takes more attention. At minimum, skiers dry gear after each outing and watch the bases for wear; some setups need periodic base care.
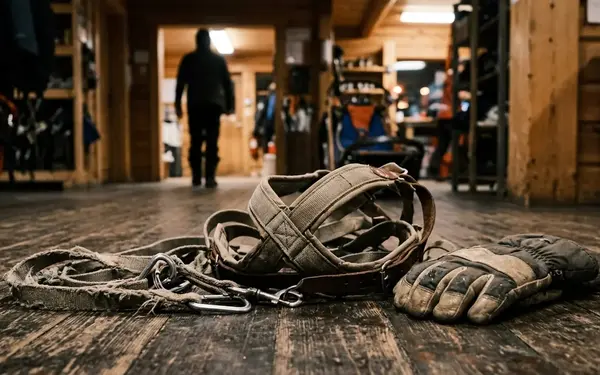
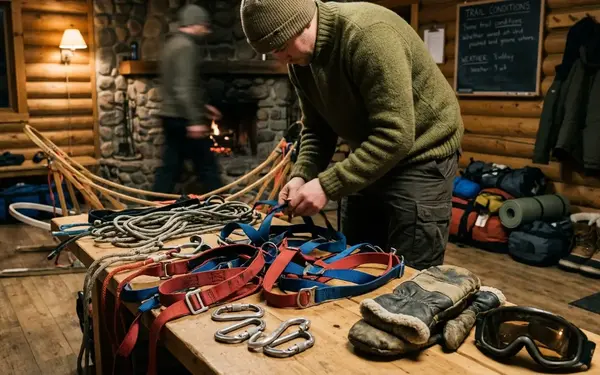
Snowshoe maintenance stays more mechanical. Check straps, pivots, rivets, and crampon wear before the first outing and again after rough trips. A cracked strap in mild weather is annoying; a cracked strap in cold wind with children waiting at the trail edge becomes a day-ending problem.
Learning curve in the first minutes
The common line says, if a person can walk, a person can snowshoe. It is not perfect, but it works well enough for many beginners. Basic snowshoe instruction can happen in the first 5 to 10 minutes: widen the stance slightly, lift the toe cleanly, avoid stepping on the opposite frame, and shorten the stride on climbs.

Skiing asks for more patience before distance feels enjoyable. Balance, weight transfer, turning, and stopping deserve their own first session. A gentle practice loop near the parking area beats a scenic route with one icy descent that forces every weakness into the open.
Important: Do not judge skiing from boots that pinch or bindings that do not match. Poor fit can make a good trail feel like bad advice.
Limitations and Backcountry Safety Considerations
Know when the tool becomes inefficient
Cross-country skis lose their advantage in deep, brushy, ungroomed woods. Long tips catch under buried branches, tight turns break rhythm, and every stop-start movement erases the benefit of glide. Snowshoes have the opposite limitation on flat, packed trails. The frame adds weight and width while providing little extra flotation.
That distinction separates inconvenience from consequence. Slow travel, awkward falls, and damp clothing belong in the inconvenience column. Losing daylight, crossing weak ice, or entering exposed cold terrain belongs somewhere more serious.
Falls and small injuries
Common ski falls involve crossed tips, loss of edge on hardpack, or uncontrolled speed on short descents. Snowshoe trips often come from stepping on the opposite frame, catching the tail, or snagging a buried branch. Neither activity requires fear, but both reward slower decisions early in the day.
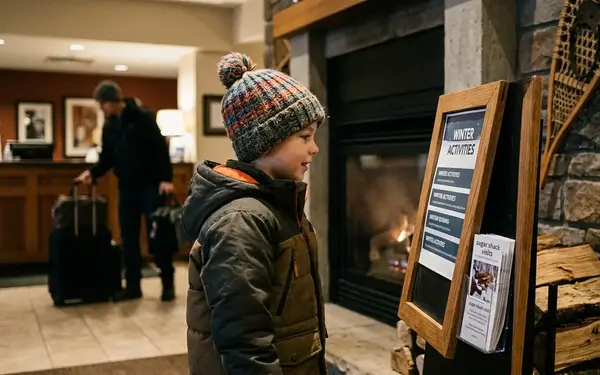
Carry a headlamp even for afternoon starts. Forest cover and cloud can erase usable daylight quickly, especially when a short loop turns into repeated stops for children, photos, snacks, or gear adjustment.
Backcountry boundaries
This comparison assumes marked local trails or low-consequence backcountry terrain; remote routes, river ice, coastal exposure, and avalanche-prone mountain terrain require separate training, local advisories, and emergency planning. Before leaving a maintained area, review official winter backcountry safety guidelines and match the plan to the coldest realistic delay, not the best-case pace.
- Tell someone the route and expected return time.
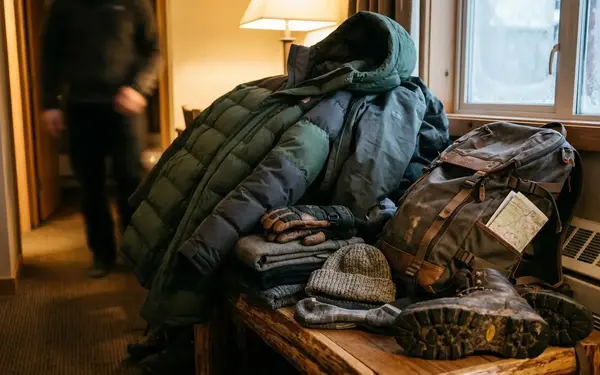
- Pack a warm stop layer, not just a movement layer.
- Bring dry gloves or mitts for the second half of the outing.
- Carry water in a way that will not freeze quickly.
- Add a simple repair item such as ski strap, cord, or tape.
Making Your Choice and Hitting the Trail
Match the tool to the goal
Choose cross-country skis when the day is about rhythm, distance, and aerobic flow. A packed beginner trail, gentle rail-trail, or groomed park loop lets skis do what they do best. The reward is speed without running and winter travel that feels almost musical once the timing settles.
Choose snowshoes when the day is about access, wandering, photography stops, family pacing, or checking a quiet forest line after fresh snow. Snowshoes handle imperfect surfaces with less fuss. They also make mixed-ability groups easier to manage because stopping and restarting take less technique.
Rent before buying
Rent both over a 1- to 2-day weekend if local options allow it. That window is enough to expose the main difference: skis feel faster on packed snow, while snowshoes feel calmer when the surface breaks down. Test each on the terrain where it belongs, not on the other tool’s worst surface.
A first outing plan that works
- Pick a known loop or out-and-back route close to a maintained access point.
- For skiing, start on packed beginner trails with flat or gently rolling terrain.
- For snowshoeing, choose a short forest or park loop with no steep icy descent.
- Set a turnaround after 30 to 45 minutes and leave the same amount of time to return before dark.
- Pack dry handwear, a warm layer for stops, water, and one basic repair item.
A good first winter trail day does not need drama. It needs the right tool, a short plan, and enough daylight to finish while everyone still wants to go again.


Write a Comment