The Reality of Sub-Zero Environments
The cold hits in phases—standing still while harnessing dogs, the biting wind on the runners, and the sweat from pushing the sled uphill. Frame your buying decisions around exposure rather than static comfort. For New Brunswick winter travel, your clothing system has to handle these distinct cold stresses in rapid sequence.
A damp cotton sweatshirt or an everyday insulated fashion coat becomes a liability after a period hovering around 20-40 minutes of stop-start exertion. Sweat trapped against the skin chills rapidly during rest periods, turning a minor discomfort into a serious hazard.
For trip planning, reassess your clothing choices twice. Do this once in the ballpark of 48-72 hours before departure using the forecast trend, then again the morning of travel when wind and precipitation are clearer. Wind is treated as a separate hazard from air temperature because exposed cheeks, fingertips, and toes can cool quickly during sled travel even when the thermometer reading seems manageable. Always check the wind chill temperature index to understand the true exposure risk before stepping onto the trail.
The Science of Thermal Regulation
People often look for a single heavy parka guaranteed to keep them warm. The reality is that clothing preserves body heat by holding warmed dead air close to the body; it does not generate heat on its own unless it contains an active heat source such as a chemical warmer or battery-powered element.
Build the system from the skin outward. First choose a layer that moves moisture away, then add loft that traps still air, then add a shell that prevents wind from stripping that warmed air away. A practical winter system is usually adjusted in three stages during the day: vent before sweating, add insulation before long stops, and seal the shell before exposed travel.
Fabric choice dictates how well this system functions. Merino wool tolerates dampness against the skin better than cotton and manages odor well on multi-day travel. Conversely, polyester and polypropylene base layers generally move moisture faster during high-output activity.
Base Layers: The Moisture Managers
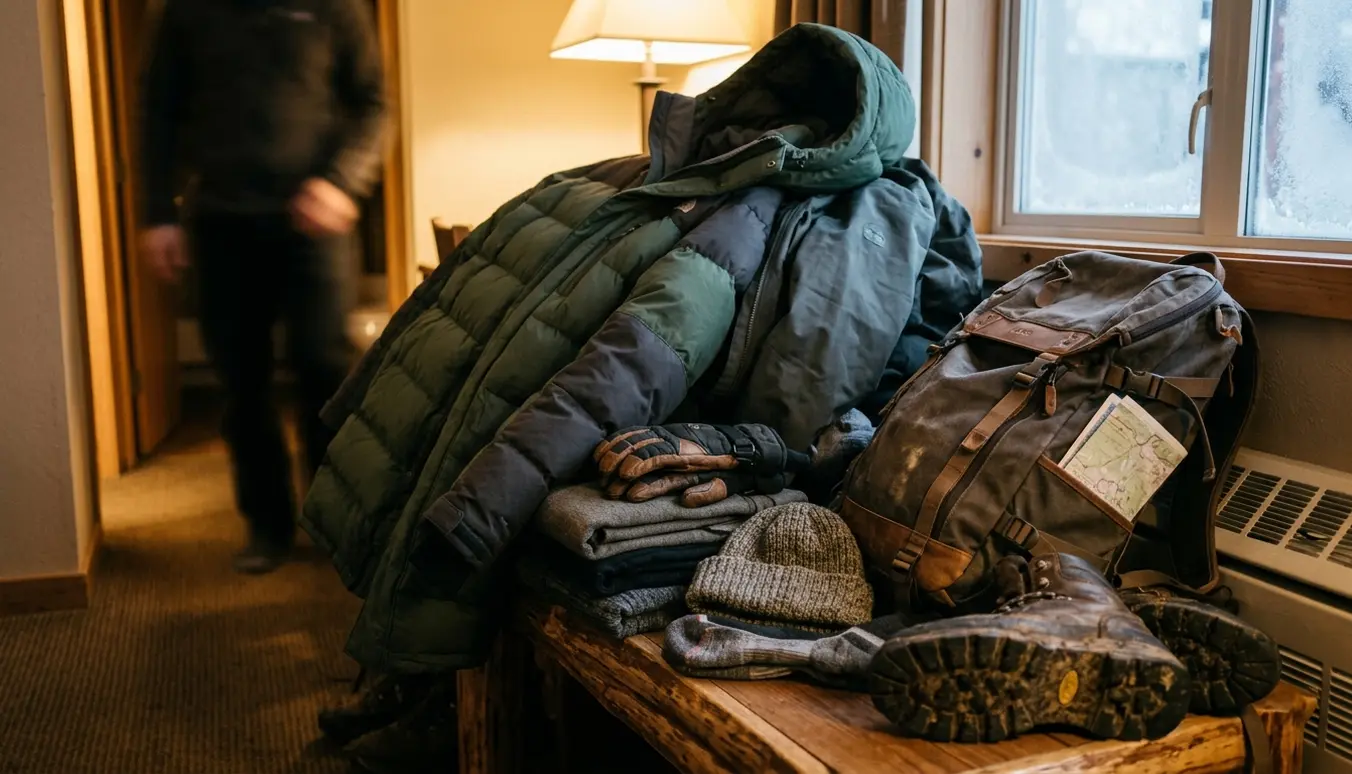
Choose base layers by expected output, not by the coldest forecast number alone. For dog sledding passengers, photographers, and family outings with long static periods, a warmer merino layer can make the difference between enjoying the scenery and enduring it.
Fit should be close enough to touch the skin without bagging at the lower back, wrists, or ankles. Loose base layers move moisture poorly and bunch uncomfortably under bibs or shell pants. Heavyweight merino is better reserved for slower travel, camp chores, spectators, and passenger time on sleds. Lighter synthetic layers suit repeated effort-and-rest cycles.
Field Note: For active outings, carry a dry spare top layer in a waterproof bag. Changing the torso layer during a 10-15 minute stop can prevent a damp chill from becoming the defining problem of the trip.
Mid Layers: The Heat Trappers
Select mid-layers by how much loft you can protect. Down offers excellent warmth for its packed size, but it should stay inside a dry bag or under a weather-resistant shell when wet snow, freezing drizzle, or damp dog-yard work is expected. Down insulation is excellent in dry inland cold but becomes a fragile choice during wet coastal snow, freezing drizzle, or repeated contact with damp dogs and sled bags.

Synthetic insulation is chosen when damp snow, thawing precipitation, or repeated physical contact with wet gear is expected. Grid fleece or midweight fleece is highly useful while moving because it releases moisture quickly. However, it needs a wind-resistant layer over it on open trails, frozen lakes, or exposed cutovers.
For sled-side breaks pushing 10-20 minutes, a belay-style insulated jacket sized to fit over base and fleece layers is more useful than another thin layer buried underneath. Throwing a large synthetic parka over your entire system traps the heat you just generated.
Outer Shells: The Weather Shields
Evaluate shells by ventilation first, then weather blocking. In real winter use, the shell is not worn sealed all day; it is opened, vented, cinched, and adjusted repeatedly. A waterproof shell can make a person colder if it is worn fully zipped during a hard uphill snowshoe approach and traps sweat against the base layer before a long sled stop.
In our review of shell performance with local outfitters, mechanical ventilation proved critical. Pit zips should be operable with gloves and long enough to dump heat without removing a pack, harness, or outer mitts.
Critical Shell Features
- Hood Compatibility: A hood should fit over a toque or insulated hat without pulling the collar open at the throat. For helmet use, test the hood while turning the head left and right before relying on it outdoors.
- Hardware: Glove-friendly zipper pulls matter in sub-zero use because bare-hand adjustments, even for 30-60 seconds, can numb fingers quickly in wind.
Protecting Extremities: Head, Hands, and Feet
Prioritize extremities after the torso system is stable, because cold hands and feet often come from whole-body heat loss, tight fit, or trapped moisture rather than weak gloves alone. Mittens are warmer than gloves during passenger time, but gloves still belong in the kit for harness clips, camera controls, stove handling, and tightening snowshoe bindings.
Boots for dog sledding or snowshoe approaches should allow toe movement with winter socks. Cramped toes reduce circulation and feel colder even inside heavily insulated footwear. Removable boot liners are valuable on overnight or multi-day travel because they can be dried separately in a cabin, vehicle, or safe indoor drying area.
According to local guides, a balaclava or neck gaiter should cover the chin, cheeks, and nose bridge during moving travel. Exposed facial skin can become the first frostbite concern on windy sled sections. Chemical hand warmers commonly provide several hours of usable heat, but they need air exposure to activate and should be opened before fingers are already numb.
Gear Limitations and Cold Weather Safety
Treat clothing as part of a safety plan, not as permission to stay out indefinitely. The decision point is made before the group is desperate. Watch for clumsy hands, slurred or unusually quiet behavior, and shivering. During cold outings, check children and first-time winter travelers at fixed intervals such as every 20-30 minutes, because they may not report numbness or cooling accurately.
Frostnip often appears as numb, pale, or waxy-looking skin on cheeks, nose, ears, fingers, or toes. Rewarm gently and protect the area from refreezing. If someone becomes confused, stops shivering despite obvious cold exposure, or cannot perform simple tasks with their hands, the clothing discussion is over and the priority becomes shelter, heat, and evacuation.
Pack emergency warmers in an inner pocket where they are easy to reach, not buried at the bottom of a sled bag or backpack. Accessibility dictates utility when fine motor skills degrade.
Important: Even a well-built layering system cannot offset poor nutrition, dehydration, exhaustion, or prolonged immobility in severe cold.

Write a Comment