
The First Shovel Drop
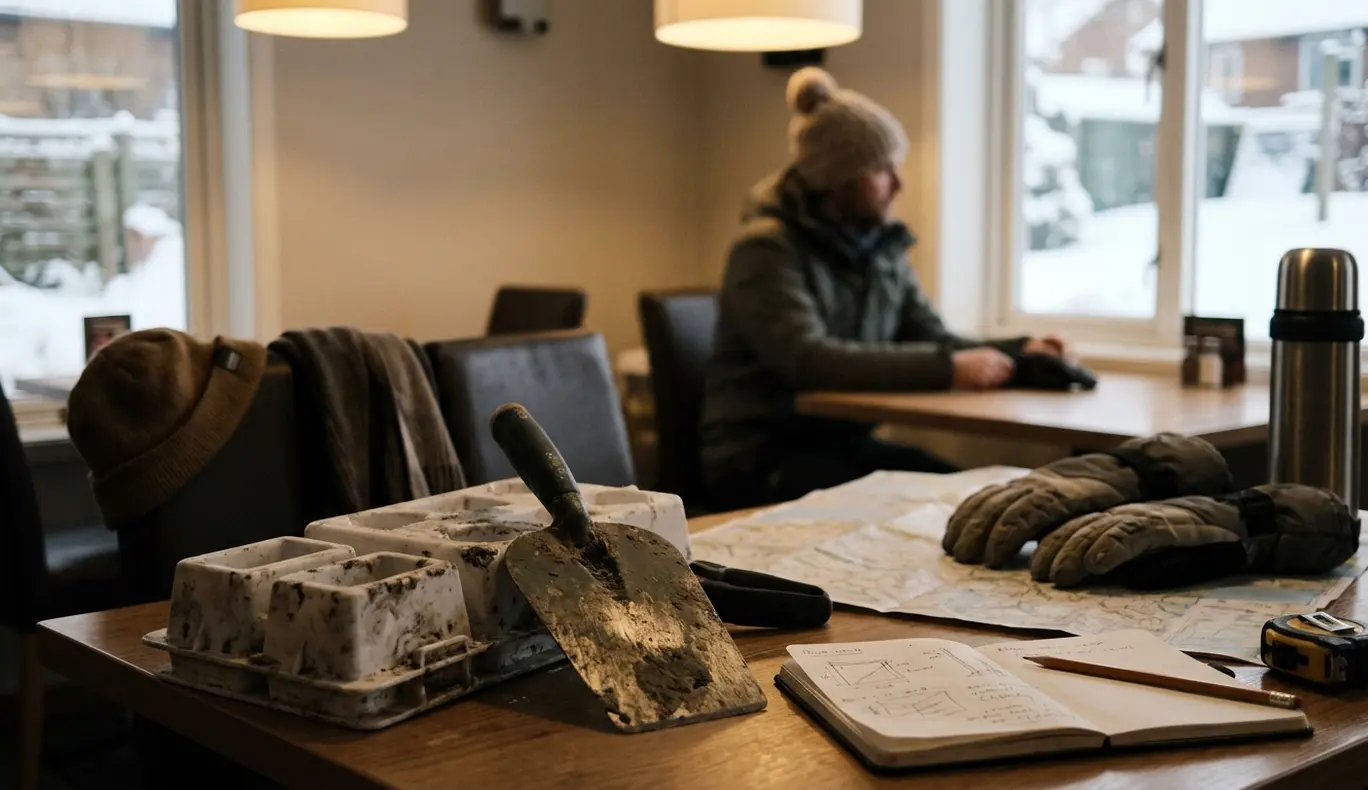
Fresh snow has muted a New Brunswick backyard. Breath plumes above scarves, boots crunch through the new layer, and a shovel edge rasps against yesterday’s packed snow. Then the first tote-shaped block drops onto the ground with a satisfying thud.
That moment turns an ordinary yard into a construction site. Children see walls and passageways ahead; adults see lifting, cold hands, and snow that may or may not hold together. A successful backyard fort brings those views together through outdoor play, family teamwork, and practical winter engineering.
Before anyone fills a mould, squeeze one glove-sized snowball. Open the hand and check whether the ball retains its shape. Drop it a short distance onto the snow. If it survives, the material is ready for a small test block. If it spills into grains, the crew needs wetter snow, more mixing, or warmer conditions.
Set the Crew
Assign jobs before block production begins: snow gathering, mould packing, block placement, and joint filling. Clear roles keep children from crowding the wall while a heavy block is being lifted. They also give younger builders useful work away from unstable courses.
Test One Block
Build and release a single block before laying out the fort. A block that looks clean in the mould can split during release when loose powder remains in its corners.
Understanding Snow Mechanics
Snow quality governs the entire build. Dry powder pours from a shovel and resists compression. Moist, cohesive snow fractures into chunks after squeezing and forms defined edges inside a mould.
Air temperatures from roughly -5°C to just below 0°C commonly produce workable packing conditions. The thermometer still gives only part of the answer. Snow beside a sun-warmed fence may pack readily while a shaded drift stays dry, even though both sit under the same reported air temperature.
Sample several parts of the yard. Compress each scoop, break it apart, and compare the fracture. Cohesive material tears or separates in pieces; weak powder streams back into individual grains. Near or below -10°C, fresh dry snow commonly needs repeated working, mixing, or time to warm before it bonds.
The physical properties of snow explain why crystal form, liquid water, and temperature all affect cohesion. In the yard, the practical consequence is simple: prepare the material before stacking it. A high wall cannot compensate for weak blocks at its base.
Read the Break
Cut into a test block with a flat scraper. A cohesive block sheds plates or chunks. A granular spill signals that the snow needs more working before it can carry another course.
Essential Tools for Winter Construction
A plastic snow shovel moves volume, but uniform moulds and small finishing tools produce stronger walls. Rectangular recycling bins and flexible plastic storage totes create blocks with flat bedding faces. A slight flex in the container also helps release the block without pulling its corners apart.
- Rectangular tote or recycling bin: Produces repeatable block dimensions and level faces.
- Masonry trowel: Packs joints and trims bulging edges.
- Dustpan or flat windshield scraper: Gives smaller hands a manageable finishing tool.
- Shovels sized for each builder: Reduce awkward lifting and help keep the work area orderly.
- Dry spare mittens: Replace soaked pairs at the next warming break.
Fill each mould in layers approximately 10–15 cm deep. Tamp the corners after every addition rather than compressing only the top. This method removes loose pockets that later become fracture points during release or placement.
Cold-Weather Gear
Waterproof mittens, insulated boots, and adjustable layers belong on the tool list. Schedule indoor warming checks every 30–45 minutes for children. A dry pair of mittens stored indoors or in a dry bag works better than expecting body heat to dry a soaked pair outside.
Pack the Corners
Run the trowel around each mould edge before adding the next layer. Crisp corners provide broader contact surfaces, leaving fewer cavities for joint snow to bridge.
The Quinzhee vs. the Block Fort
The intended play space should decide the construction method. A block fort suits an open courtyard, low wall, winding maze, or lookout with no roof. Work can stop after any completed course, so a family can spread a small build across several 30–60 minute sessions.
A quinzhee begins as a mixed mound of loose snow. After settling, builders hollow it into an enclosed shelter. It needs an uninterrupted settling period commonly in the 2–3 hour range, followed by excavation and a careful inspection.
Choose a Block Fort When
- The family wants an open-air structure.
- The build window comes in short sessions.
- Moist, cohesive snow is available for moulding.
- Children want to customize corners, gates, or low interior walls.
Choose a Quinzhee When
- An adult can supervise the complete settling and excavation sequence.
- The snow is loose enough to shovel and mix into a mound.
- The site has room for excavated snow around the entrance.
- The family can keep the shelter closed during its 2–3 hour settling period.
Mixing gives the quinzhee an advantage with looser material because shovelling disturbs the crystals before settlement. Its enclosed roof also introduces risks absent from a roofless block fort. That trade-off should shape the choice from the start.
Step-by-Step Block Fort Construction
- Mark the footprint. Trace an open design in the yard, keeping paths clear around the future walls.
- Compact the base. Walk the footprint repeatedly until hidden drifts and soft pockets feel level underfoot.
- Lay the first course. Place blocks directly on the compressed track and pack loose snow beneath any rocking edges.
- Stagger the joints. Start the next course with a partial block. Offset vertical seams by at least one-third of a block length where the mould permits.
- Fill every seam. Press workable snow into gaps with a trowel or scraper, treating it like mortar.
- Taper the walls. Shift each higher course slightly inward to lower the wall’s center of gravity.
- Let the wall rest. Keep rough play away for 30–60 minutes after packing the final joints.
Aligned seams form a direct fracture line from one course to the next. Staggered blocks spread that line across several units, while packed joints increase contact between faces. The pattern follows familiar bricklaying logic and remains easy for children to check as the wall rises.
Keep the design open to the sky. Turrets, low benches, and curved walls add character without placing a heavy snow slab over the play area.
Leave It Roofless
Do not cap a block fort with packed snow, boards, tarps, or a slab assembled on the ground. Walls provide the play space; a heavy roof creates a severe collapse hazard.
Building a Safe Quinzhee
A quinzhee mound needs deliberate disorder at the start. Toss snow from different parts of the pile together, breaking up crusts and erasing visible storm layers. Separate layers can become internal slip planes during hollowing if they remain intact.
- Build and mix the mound. Stir snow from the top, sides, and base as the dome grows.
- Allow settlement. Leave the mound untouched for 2–3 hours. Colder, drier snow may require the longer end of that range.
- Install thickness guides. Push sticks approximately 30 cm long perpendicular to the roof and upper walls.
- Open a low entrance. Keep the removed snow away from the doorway so it cannot slide back and obstruct the exit.
- Excavate toward the guides. Stop cutting when the end of a guide stick appears inside.
- Shape the floor. Leave a sitting or sleeping platform above the lowest part of the entrance, giving cold air a lower place to collect.
One adult stays outside throughout hollowing with the shovel and entrance clear. Another person removes snow from inside. A child should never excavate or occupy the enclosed space alone.
The guide sticks turn an invisible wall thickness into a visible stopping point. They must cover the roof and upper walls before excavation begins; inserting a few near the entrance leaves the deepest part of the dome unmeasured.
Structural Safety and Cave-In Prevention
Every snow roof can fail without warning. Block forts therefore remain roofless, while quinzhees require inspection from both outside and inside before anyone enters. Cracks, sagging, persistent dripping, slush, or soft patches end play immediately.
Create at least two clear ventilation openings in an enclosed quinzhee: a low opening through the entrance area and a small roof vent made with a stick. Recheck both after drifting snow and active play. Carbon dioxide can accumulate when openings become blocked, and candles, stoves, or fuel-burning heaters add unacceptable combustion and air-quality hazards.
Before Anyone Enters
- An adult supervisor is outside and actively watching.
- The quinzhee entrance and roof vent are visibly open.
- Guide-stick thickness has been preserved during excavation.
- The exterior shows no cracks, roof sag, dripping, or soft snow.
- The shovel and entrance remain clear.
A backyard guide cannot certify a snow shelter for sleeping or severe-weather survival; enclosed or overnight use requires experienced instruction, continuous ventilation management, and conditions assessed on site.
Controlled Demolition
These structures are temporary. Knock them down in a controlled manner when daytime thawing creates slush, persistent dripping, deep cracks, or roof sag. Keep children’s faces away from cavities during demolition, and never allow anyone inside or behind the structure while an adult collapses it from the exterior.
Close on Thaw
A glossy surface can conceal a weakening interior. Once melt signs persist, close the fort and dismantle it rather than waiting for a roof or wall to settle on its own.
The Science of Sintering
The first packed block changes while the family works. Shovelling, stirring, and tamping break delicate crystal branches, press fresh ice surfaces together, and create new bonds. Water vapour and microscopic contact between grains help those connections develop into a more rigid ice matrix, a process called sintering.
This explains why mixing matters in a quinzhee and why a newly finished block wall benefits from quiet time. The builders are triggering a rapid physical transformation—loose grains begin behaving like a connected shell.
The field test requires no instrument. Scrape the rested surface and watch how it breaks. Successfully sintered snow cuts away in plates or chunks rather than spilling as separate grains.
A fresh seam may still deform under a mitten immediately after packing. Leave that same seam undisturbed near freezing, and it can feel markedly more rigid just 30–60 minutes later.





Write a Comment