
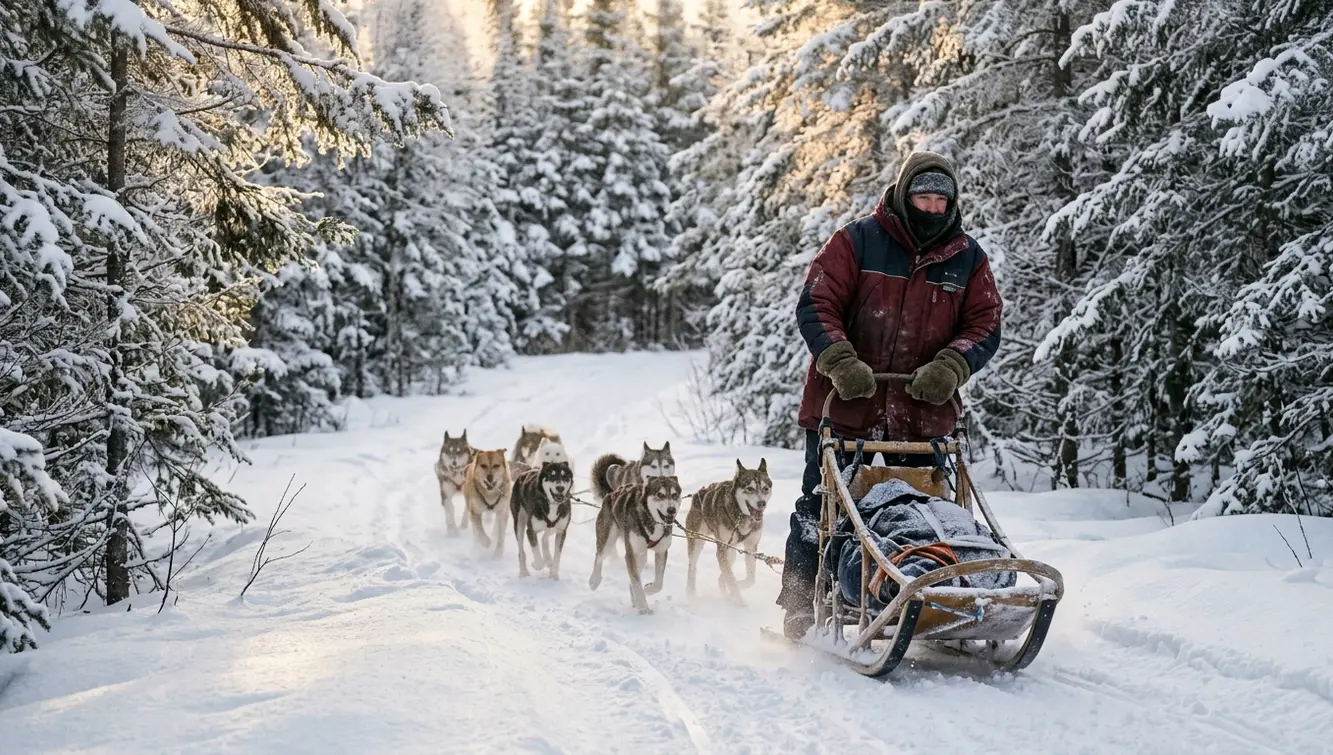
How Fur-Trade Words Became Sled Dog Cues
The words reach back beyond today's recreational dog sledding. English “gee” and “haw” came from draft-animal handling; “mush” is commonly traced to the French “marche,” meaning “walk” or “go.” Northern travel and nineteenth-century fur-trade networks brought these vocabularies into settings that depended on Indigenous sled-dog knowledge.
I like to begin with those words before stepping onto the runners. They make a useful starting point for understanding the whole system: a familiar sound asks for a learned response, and the person driving must give the dogs room to carry it out.
On New Brunswick's spruce-and-fir winter trails, distance, wind, trees, foliage, and snow conditions all affect how sound travels. Runner noise adds another competing sound. Shouting harder gives you less useful control than delivering a recognizable cue at the right moment.
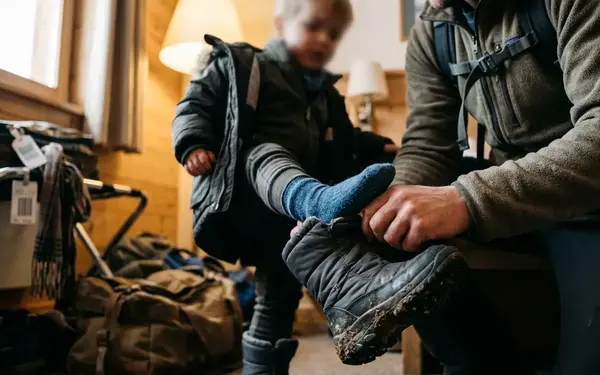
Dogs learn the sound pattern through reinforcement. Keep pronunciation and cadence consistent, then connect the cue with the correct response. For first-time family adventures, learning the operator's actual vocabulary belongs alongside boots and mittens in your gear & prep.
Eight Voice Cues for Launching, Turning, and Stopping
Start by asking which words the team already knows. The traditional sled dog commands used by Denali rangers offer a useful reference for the vocabulary below. On the trail, use the team's familiar version.
1. Hike or All Right: Start Moving
Check that the route ahead is clear, establish your balance, and coordinate the launch cue with a controlled brake release. “Hike” and “All Right” are working alternatives to the historic “mush.” Choose the one the dogs recognize.
A common beginner mistake is calling for movement while still standing heavily on the drag mat. Match your voice to your feet so the team receives a clear request and an appropriate release of resistance.
2. Gee: Take the Right Branch
“Gee” asks the leaders to turn right. Watch their approach to the junction, rather than judging the turn from your own position behind the sled. Give the cue while they still have room to choose the branch, before they commit to another line.
Use a recognizable call and allow the response. Rapid “gee, gee, gee” repetitions can blur which sound the dog should act on.
3. Haw: Take the Left Branch
“Haw” asks for a left turn. The same timing principle applies: look ahead through the trees and speak before the leaders reach their decision point. Trail speed and visibility shape how early that needs to happen.
Keep your delivery familiar. A conversational sentence wrapped around “haw” changes the sound pattern the dog has learned.
4. Come Gee: Reverse to the Right
“Come gee” requests an approximately 180-degree reversal to the right. Before asking, assess the space for the leaders, the following dogs, and the sled. A narrow forest track makes that whole-team picture especially important.
Plan the turnaround so the team can come around without crossing lines.
5. Come Haw: Reverse to the Left
“Come haw” requests the corresponding reversal to the left. Choose the direction with room for the complete manoeuvre. Watch how the gangline and sled will follow the leaders, rather than concentrating only on where the front dogs finish.
6. Easy: Reduce the Pace
“Easy” asks for a slower pace. Support the request with controlled braking, especially on a descent where the sled can gain on the dogs. Steady resistance helps preserve useful line tension while the team slows.
7. Whoa: Stop the Team
Pair “whoa” with deliberate sled control. The dogs learn a clearer stop response when the cue consistently leads to stopping; repeatedly travelling onward after the call can weaken that association. Keep your braking ready before you need the halt.
8. On By: Continue Past an Interest
A parked sled, snowshoer, or interesting trailside distraction may draw attention. “On by” asks the team to continue past it. Manage clearance yourself and keep watching the route ahead while the leaders pass the distraction.
Two Sled-Handling Actions That Change the Pull
The handlebar, runners, and brake connect your movements to the team's workload. A taut gangline carries changes in pulling load; slack interrupts that continuous feedback. Treat the next two items as physical sled handling, separate from the learned voice cues.
9. Pedaling and Cornering Weight Transfer
Pedaling adds propulsion: keep one foot on a runner and push against the trail with the other. Cornering uses a different action, shifting your weight to manage the sled's balance.
Approach a wooded bend by looking through the exit. Keep your knees mobile and your grip controlled, then adjust your weight as the sled responds. Runner design, side slope, speed, and any tendency to lift or slide all influence the movement needed. Simply loading the inside runner leaves too much of the turn unaddressed.
Relaxed joints let you absorb bumps and make corrections. Locked knees and rigid arms make those adjustments harder.
10. Smooth Pressure on the Drag Mat
Before a downhill pitch in the Miramichi or Restigouche highlands, assess your speed and available braking. Apply drag progressively, maintaining predictable resistance as the slope changes. Smooth modulation gives the team a steadier pulling load than deliberately pulsing the mat.
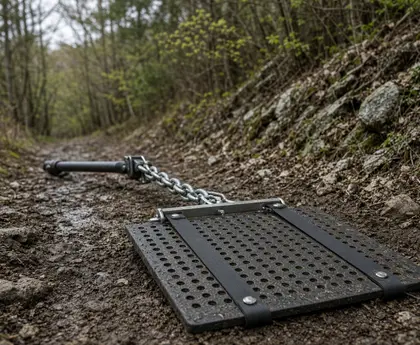
The rubber drag mat and metal claw brake provide different means of controlling the sled. Coordinate their use with the terrain and the equipment you have been shown. Establish control before the sled begins closing on the wheel dogs.
Two Passing Gestures for New Brunswick's Shared Trails
Shared corridors bring dog teams together with winter hikers, snowmobiles, and grooming equipment. Begin a meeting by slowing early and checking that the other person has seen you. Agree who will wait before committing to a narrow crossing.
These gestures belong to an agreed passing routine, rather than a province-wide signalling standard; confirm the operator's procedure and posted corridor rules before using them.
11. Raised Open Palm: Request a Wait
An open palm can ask another trail user to hold position. Look for an acknowledged response and an actual stop before proceeding. Keep control of your own sled throughout the exchange.
A waiting dog team needs secure restraint. Where a snow hook is used, suitable snow and secure placement matter. At a blind curve, reduce speed before the meeting point: a hand raised at the last second cannot make an unseen snowmobile yield.
12. Directional Point: Confirm the Passing Line
A deliberate point can clarify the side you have agreed to hold. Maintain that line predictably instead of making a sudden sideways move. Use speech whenever the intended movement remains unclear.
If your group has arranged to show fingers for following sleds, confirm that meaning before departure. Snowmobile riders may interpret hand signals through a different established system, so make the exchange explicit.
In standard North American snowmobile hand signalling, raised fingers indicate how many machines follow behind the leader and a raised fist marks the final sled in the group—one reason verbal confirmation remains essential when dog teams meet motorized traffic on shared New Brunswick trails.

Write a Comment