
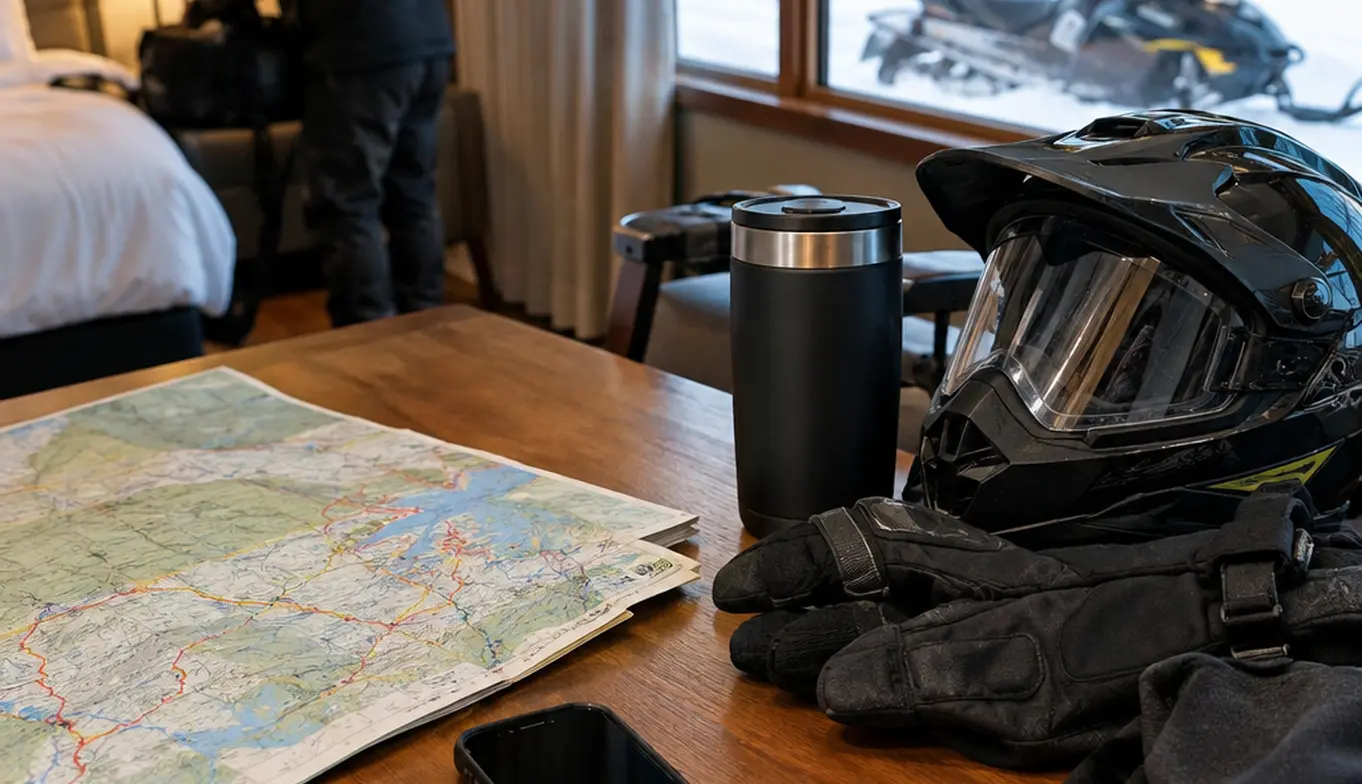
Reading New Brunswick’s Connected Winter Trails
New Brunswick’s groomed snowmobile trails connect regional rides from coastal areas toward the northern woods. On a map, that reach looks inviting. On a sled, it creates a planning problem: a trail line may lead farther than the day’s fuel, daylight or current conditions allow.
Start with a destination and a return route. Check the current trail-status map while choosing them, then check it again on the morning of departure. Trace each legal connection rather than assuming two nearby lines meet or remain open. A loop becomes useful only when the rider can identify where to refuel, where to stop, and how to get back if a planned segment closes.
Snow conditions can diverge sharply across the province. Northern routes often hold rideable snow longer than southern coastal paths, yet recent weather matters more than the date on a booking confirmation. A southern approach that looked sound during early planning may need another look after rain or a thaw. Equally, a northern destination deserves a fresh status check after wind or new snowfall.
That distinction matters on a site devoted to winter trails and dog sledding. A New Brunswick snowmobile permit follows the managed motorized trail network; it is not permission to enter a dog-sled route. Keep snowmobile plans on signed, open motorized connections, and treat unsigned private land as outside the route.
Build the ride around a return
A practical route sketch answers four questions before it names a scenic stop: Which trail reaches the destination? Which open trail brings the group back? Where is the last confirmed fuel before the longest remote leg? How much daylight remains at the expected arrival? If one answer is missing, shorten the ride or choose a different connection.
This approach leaves room for the pleasure of the trip. The forest is easier to enjoy when the return route has already survived a careful look at trail status and fuel.
Choosing a Permit for the Riding Days
Obtain the required trail permit before entering New Brunswick’s managed snowmobile network, and carry whatever proof the current permit rules require. Put this near the top of gear & prep, alongside registration and route planning, rather than leaving it for the staging area.
Count the days the sled will actually spend on managed trails. An out-of-province visitor with a short riding window should compare the current short-duration options against that window; someone returning for more riding days should compare the seasonal option. Check the permit types, dates and prices available for the trip before travel. A multi-day product that worked for an earlier visit should not be assumed available for the intended dates.
Permit revenue supports the club-run work that makes the network rideable, including grooming equipment, fuel and maintenance. That link explains why permit choice has a practical effect beyond access. It does not put a groomer on every segment before every departure. Local volunteer capacity and recent snowfall influence when grooming can happen.
Keep access separate from trail condition
At the permit stage, make two distinct checks: confirm permission to ride the managed network, then confirm that each intended segment is open and usable. A valid permit cannot override a closure. It also does not extend access to dog-sled routes or unsigned private land.
For a family group planning its first snowmobile day during New Brunswick travel, that separation keeps the decision clear. The permit answers an access question. The morning trail-status map answers a route question. Both need a satisfactory answer before anyone unloads a sled.
Fuel Legs, Groomer Reports and Remote Stops
A northern fuel leg is not settled when its distance fits the tank: the station’s opening hours and fuel for a detour still have to fit. Mark every confirmed fuel stop on the planned route, then compare the distance between stops with the sled’s realistic cold-weather range. Leave enough fuel to turn around, take a legal alternative or reach the next viable stop if a station is closed.
A map can make two communities seem comfortably connected while hiding the real constraint: the only useful pump on the intended line may be closed when the group arrives. Confirm remote station hours a day or two before departure. Before leaving a fuelled staging area, recheck the next stop the ride depends on. If that stop cannot be confirmed, redraw the leg there, while the sled still has a full tank.
Read the report behind the trail line
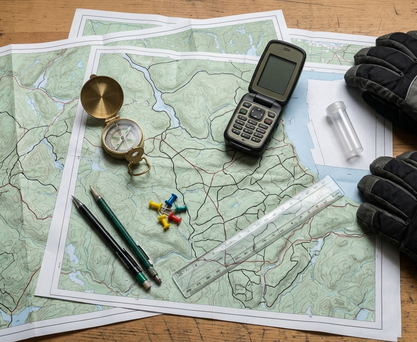
A grooming report has three useful parts: its posting time, the specific segment it covers, and the weather since the groomer passed. Keep in mind that a report for one stretch says little about an adjoining trail. Even a freshly groomed line can change after snowfall or heavy traffic, while a closure notice takes priority over a promising earlier report.
Compare each report with current closure notices and the forecast along the route. If the intended connection is heavily rutted or impassable, select an open alternative that still works with the day’s fuel plan. Recheck at the next stop rather than carrying an outdated assumption deeper into the woods.
Prepare for a stop without cell service
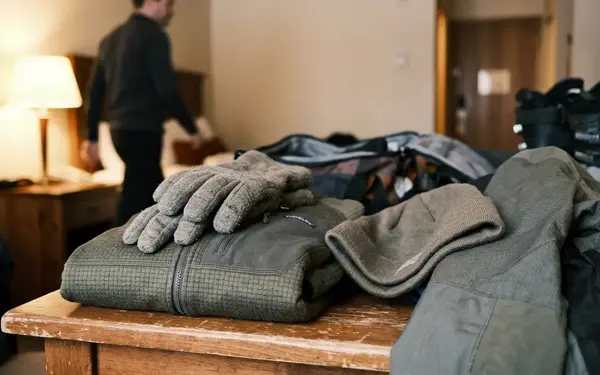
Cellular coverage is unreliable between remote staging areas. Carry a charged satellite communicator with an active service plan, and send a test message before entering a remote section. Pack insulating layers, spare gloves, a headlamp, fire-starting supplies and an emergency shelter where they can be reached during an unplanned stop.
Warm clothing worn while moving may be inadequate when a machine stops and the temperature falls. Keeping the emergency gear accessible on the sled makes the fuel and communications plan useful when the ride no longer follows the schedule.
Building a Northern Loop from the Overnight Stops
Plan a multi-day northern loop backward from each night’s lodging. Mark the place the group needs to reach, find the open and legal trail connection to it, then verify fuel on that leg. Add warming stops between longer stretches and check their opening hours. This sequence gives each riding day a firm destination before mileage goals enter the conversation.
Edmundston and Campbellton are northern communities worth evaluating as potential staging hubs. Neither name alone confirms a place to leave a truck and trailer. Identify the specific parking site, confirm permission and trailer rules, and check that signed trail access connects it to the intended loop. Do the same for any other proposed start point.
Set the day by daylight
- Fix the overnight endpoints. Confirm lodging, parking permission and trail access two to three days before the first riding day.
- Verify each connection. Check the current status of every planned segment, including the return or next-day departure route.
- Place fuel and warming stops. Confirm fuel on every leg and check when planned indoor stops will be open.
- Set the departure. Choose a daily goal that reaches lodging an hour or two before sunset, leaving daylight for a slower trail or an extra stop.
- Reassess on the trail. On popular weekend corridors, leave earlier and review traffic and trail condition at the first fuel stop.
The first fuel stop is a useful decision point. The group has travelled enough trail to judge the surface and traffic, but still has fuel and daylight to change the day’s plan. If progress is slower than expected, use that stop to shorten the route rather than asking the final leg to absorb the delay.
For family adventures that combine several winter activities, keep the snowmobile itinerary separate from dog-sled plans. Staging and access must match the activity taking place that day. A trail map for one does not establish permission for the other.
Inspecting the Sled Before the Trailer
Once the loop, permits and stops are settled, move from the map to the machine. Set the snowmobile where the drive belt can be inspected before loading. Look for frayed cords, missing cogs or glazing. Locate the spare belt and the tools needed to fit it, then secure both on the sled.
A kit left in the truck helps at the parking area and nowhere else. Secure the emergency tool kit on the machine where it can be reached after a breakdown. Give the satellite communicator its test message and make sure the planned emergency layers and shelter are aboard.
Before loading the sled
- Inspect the drive belt and locate the spare belt.
- Secure the emergency tool kit on the sled.
- Check the latest status of every planned trail segment.
- Confirm the first fuel stop is open and the satellite communicator sends a test message.
Once the sled is strapped down and the truck is packed, the planning phase is officially over. Pulling out of the driveway with a verified route, a valid permit, and a fully equipped machine means the first mile on New Brunswick's snow will be spent actually riding, not troubleshooting.

Write a Comment